Mastering Humanoid Animations in Unity
In the world of game development, animation breathes life into your characters. For humanoid characters, achieving natural and believable movement is crucial for player immersion. This is where Unity’s humanoid animation system comes in, offering a powerful toolset for working with pre-made or custom animations.
This blog post will guide you through the essentials of working with humanoid animations in Unity, equipping you to bring your characters to life!
1. Understanding Humanoid Rigs and Avatars
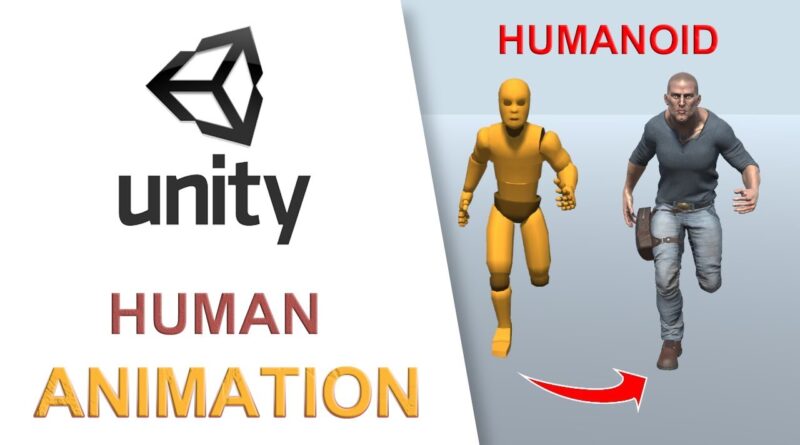
Unity utilizes a standardized “Humanoid” rig for characters. This rig defines a specific bone structure that matches the human skeleton. Your character model needs to be configured to this rig for animations to work properly.
The “Configure…” option within the rig settings lets you map your character’s bones to the corresponding humanoid bones, ensuring smooth animation application.
2. Importing and Retargeting Animations
Many animations are available online or through the Unity Asset Store. When importing an animation, ensure it’s compatible with the Humanoid rig. If the animation was created for a different rig, Unity offers retargeting options to adapt it to your character’s specific bone structure.
3. Working with Animation Clips and the Animator Component
Animation clips hold the actual animation data. You can import these clips into your Unity project and assign them to the Animator component attached to your character. The Animator component acts as the brain that controls which animation plays and when.
4. Animation Layers and Weight Blending
Unity’s Animation system allows you to layer multiple animations on top of each other. This is powerful for creating complex movements. Weight blending lets you control the influence of each animation layer, allowing for smooth transitions between animations.

5. Root Motion and Footstep Placement
Root motion animations include movement data for the entire character. This can be useful for certain animations, but be aware it can sometimes lead to unwanted character movement. Footstep placement allows you to fine-tune where your character’s feet land during animations.
Beyond the Basics:
This blog post has covered the core aspects of working with humanoid animations in Unity. As you delve deeper, you’ll explore advanced topics like:
- IK (Inverse Kinematics): This system helps maintain realistic character positioning during animations.
- Animation Events: Trigger events within your code at specific points in the animation.
- Custom Animation Controllers: Build complex animation workflows with custom controllers.
By mastering these techniques, you’ll be well on your way to creating stunningly animated characters that captivate your players!
Bonus Tip: Explore Unity’s extensive documentation and tutorials for in-depth information and practical examples on working with humanoid animations. With dedication and these valuable tools, you’ll bring your characters to life and create unforgettable experiences in your Unity games!


Fantastic article. I discovered the content very helpful. Appreciated the way you explained the content.
Fantastic article. I thought the details very helpful. Appreciated the manner you clarified all the points.
Genuinely appreciated this entry. It provided plenty of helpful information. Excellent effort on composing this.
This post is fantastic. I gained a lot from reading it. The content is highly educational and arranged.
Fantastic entry. I found the content extremely useful. Loved the way you explained everything.
Great entry. I discovered the content highly helpful. Adored the way you detailed everything.
Fantastic entry. I discovered the information highly useful. Appreciated the method you explained everything.
Great product! Impressed with the quality.
The very core of your writing while sounding reasonable originally, did not really settle properly with me after some time. Somewhere throughout the paragraphs you managed to make me a believer but just for a while. I still have got a problem with your jumps in logic and one would do well to help fill in those gaps. In the event that you can accomplish that, I could definitely be impressed.
Perfect for me. Easy to use.
Thanks for providing something of high quality.
Bilinçli casino oynamak , keyfinizi güvenceye alır .
Bahis limitlerinizi net tanımlamak , dengeli oynamaya katkı sağlar .
Hesabınızı sınırlandırma araçlarını kullanmak, sorunları engellemenize katkıda bulunur.
casinoalevtr.com
Bahislerin risklerinin farkında olmak, uzun süreli keyif temin eder .
Zorlandığınızda yardım grubu danışmak, keyfi korumaya katkı sağlar .
Bu uygulamalar , sorumluluk dolu bahis süreci yaşamanızı sağlar .
Simple to use. Loved it.